
# SECTION 8: After You Accept
# The Contact Tab — Your Task List After Accepting
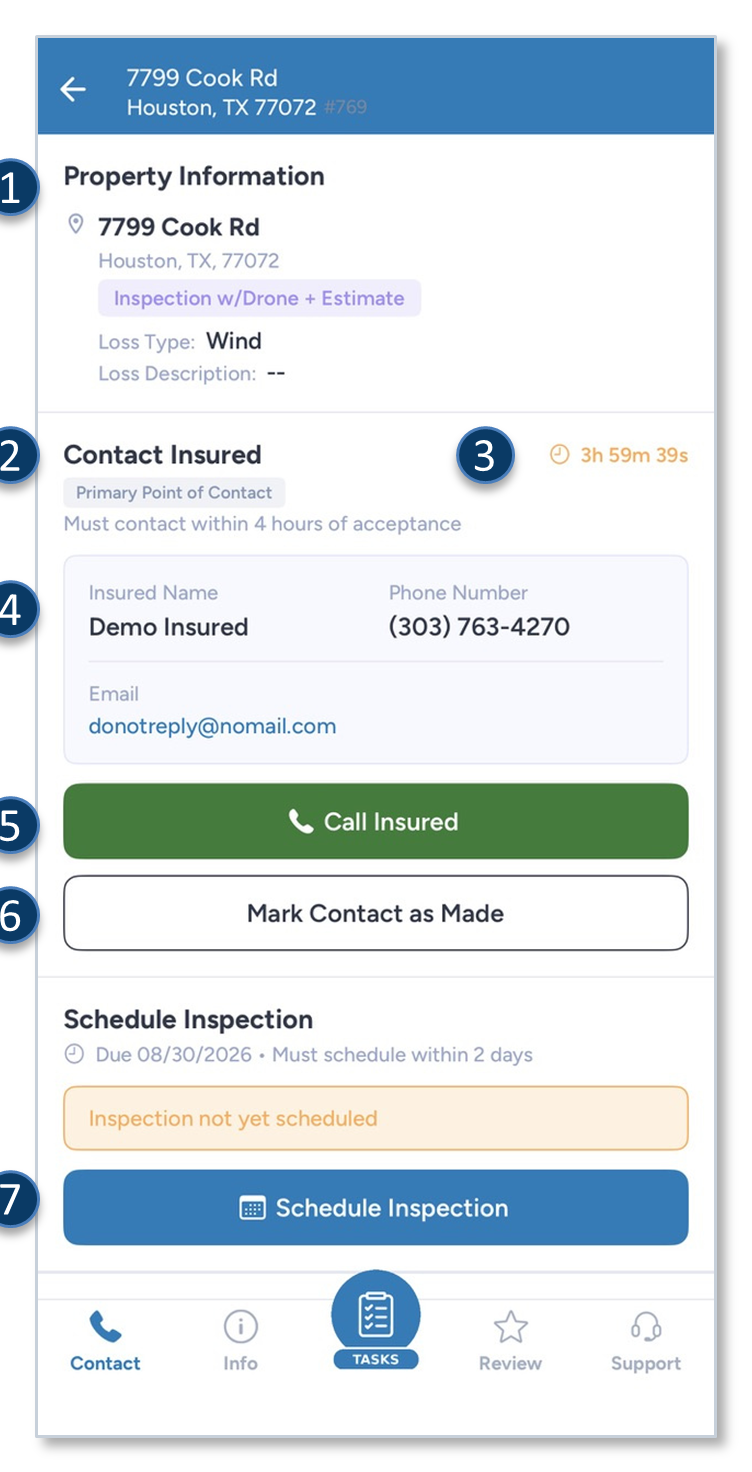
Contact tab — insured details, 4-hour countdown and open tasks.
Open any accepted assignment and you land on the Contact tab. You stay there until every task is complete.
What is on the tab
- Property Information — address, inspection type, loss type and loss description
- Contact Insured — Task 1, with the Primary Point of Contact label
- Countdown — time left on your 4-hour contact clock
- Insured details — name, phone number and email
- Call Insured — opens your phone's dialer with the number ready
- Mark Contact as Made — records the contact and stops the countdown
- Schedule Inspection — Task 2, with the amber status strip above it
Your tasks, in order
- Contact the insured — call, then mark the contact as made, within 4 hours of acceptance.
- Schedule the inspection — set a date and time within 2 days of your call.
- Complete the pre-inspection questions — 13 questions; answers save as you go.
- Upload your COA — controlled-airspace assignments only. If the task is not on your Contact tab, this job does not need it.
# Task 1 — Contacting the Insured
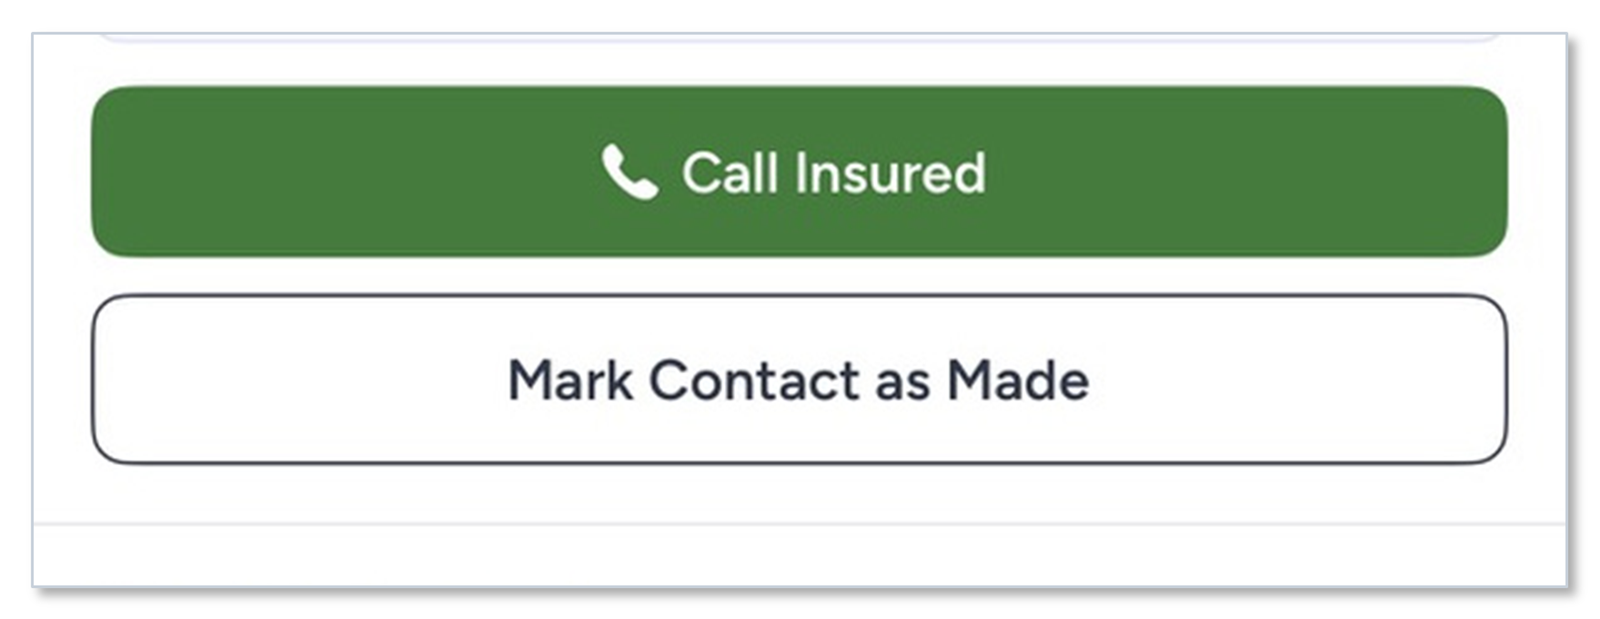
Contact tab — (1) Call Insured and (2) Mark Contact as Made.
Complete these steps within 4 hours of accepting the assignment
- Open the assignment and review the insured's details on the Contact tab — name, phone number and email.
- Tap Call Insured. Your phone's dialer opens with the number ready.
- Make the call and agree a date and time for the visit.
- Record what happened — select the outcome that matches your call and tap CONFIRM.
- Tap Mark Contact as Made. The countdown disappears from the assignment.
Calling does not stop the clock
The application cannot tell whether anyone picked up. Until you tap Mark Contact as Made, your coordinator sees this assignment as not contacted and the 4 hours keep running.
# Task 1 (continued) — Documenting the Outcome of the Call
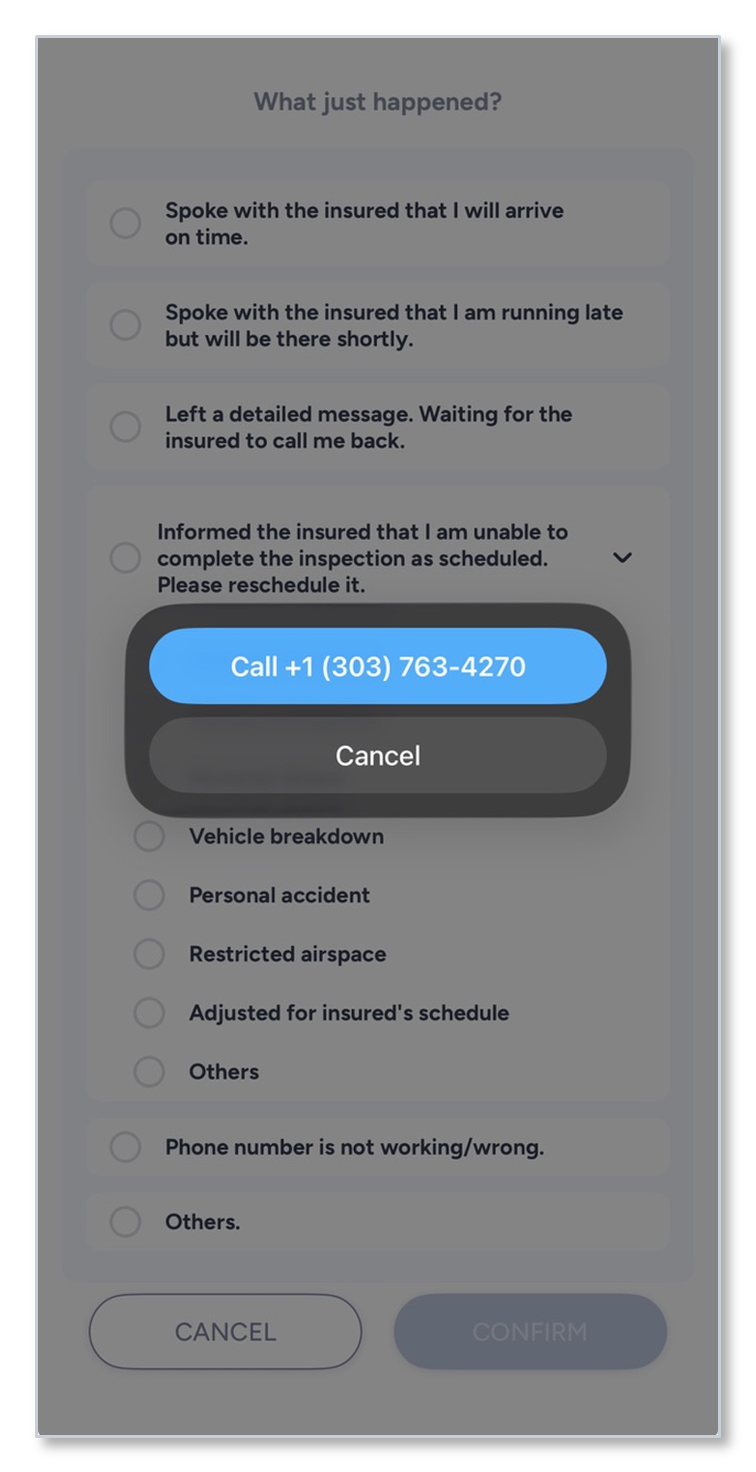
Call outcome options, and the reschedule reason list beneath them.
After the call the application asks What just happened? Select the option that matches how your call went, then tap CONFIRM.
Outcome options
- Spoke with the insured that I will arrive on time
- Spoke with the insured that I am running late but will be there shortly
- Left a detailed message. Waiting for the insured to call me back
- Informed the insured that I am unable to complete the inspection as scheduled. Please reschedule it
- Phone number is not working/wrong
- Others
If you select the reschedule option
A second list opens. Choose the specific reason: Vehicle breakdown, Personal accident, Restricted airspace, Adjusted for insured's schedule, or Others.
Why the outcome matters
This is what your coordinator reads when an assignment slips. A recorded "left a detailed message" tells a very different story from silence — it is the difference between a follow-up and an escalation.
# Task 2 — Scheduling the Inspection
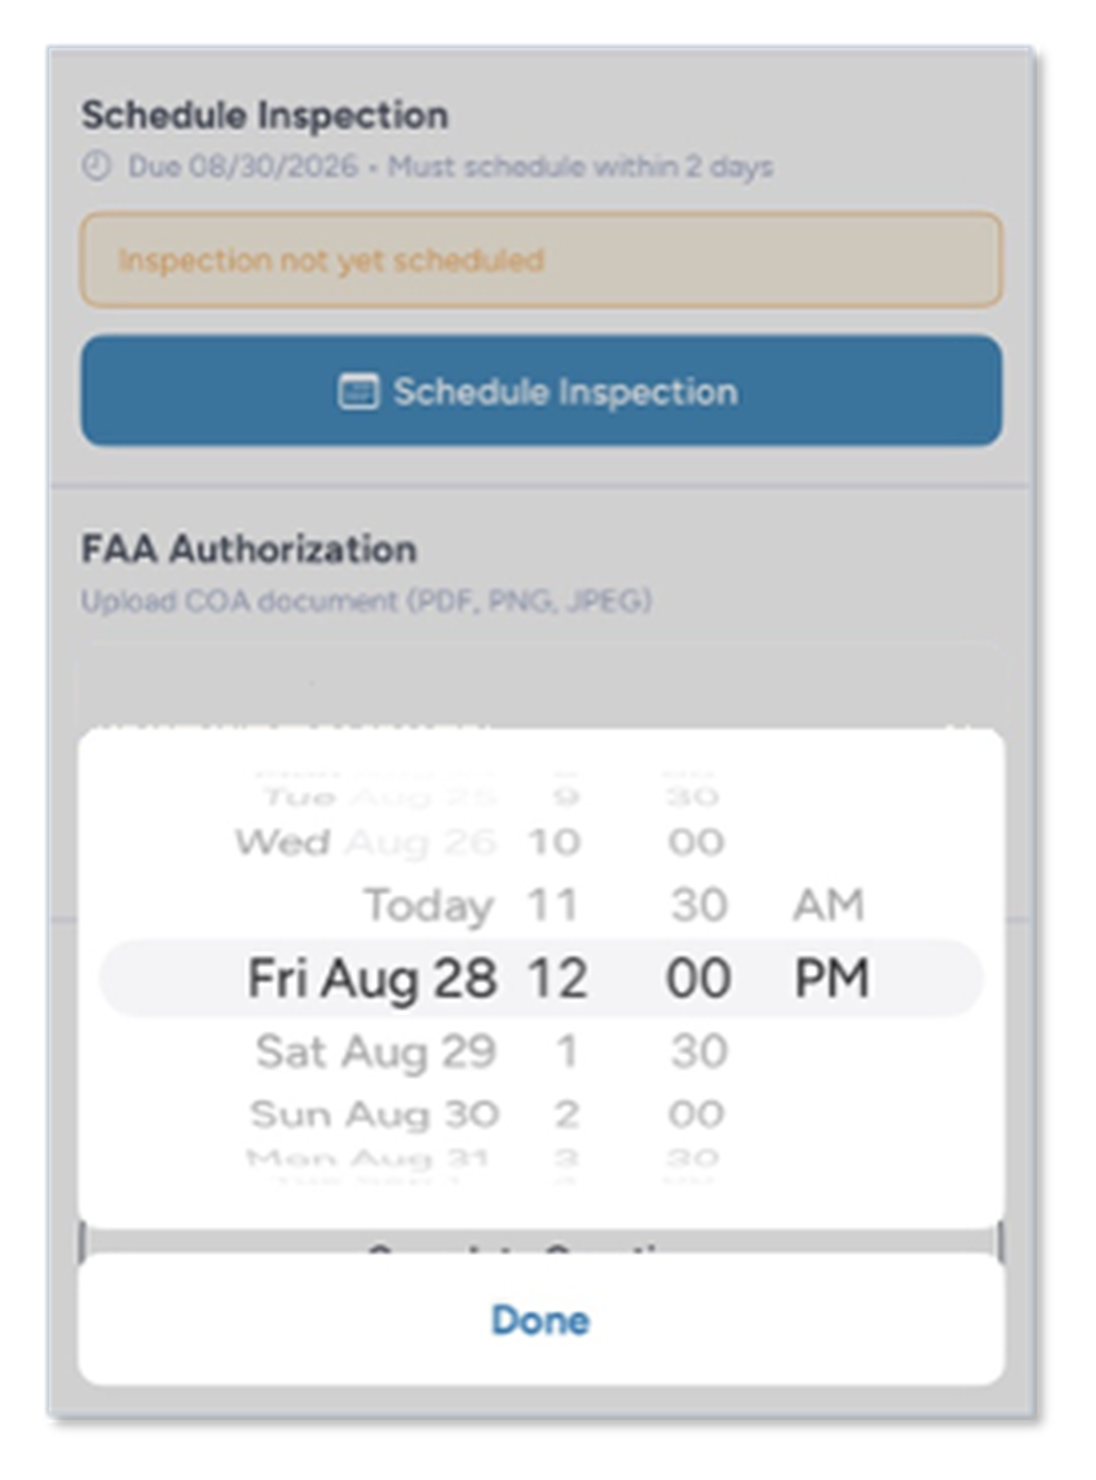
Schedule Inspection — the task, the amber status strip, the date and time picker and Done.
Schedule within 2 days of your call to the insured
- On the Contact tab, tap Schedule Inspection.
- Choose the date and time you agreed with the insured.
- Tap Done to confirm the slot.
What the picker enforces for you
- Any date or time in the past is blocked.
- Times move in 30-minute steps, with AM/PM.
After you confirm
- The Inspection not yet scheduled strip clears and the confirmed date is shown on the assignment.
If you double-book
The application warns you but will not stop you. Move one of the two appointments — a missed visit costs more than a rescheduled one.
# Task 3 — Completing the Pre-Inspection Questions
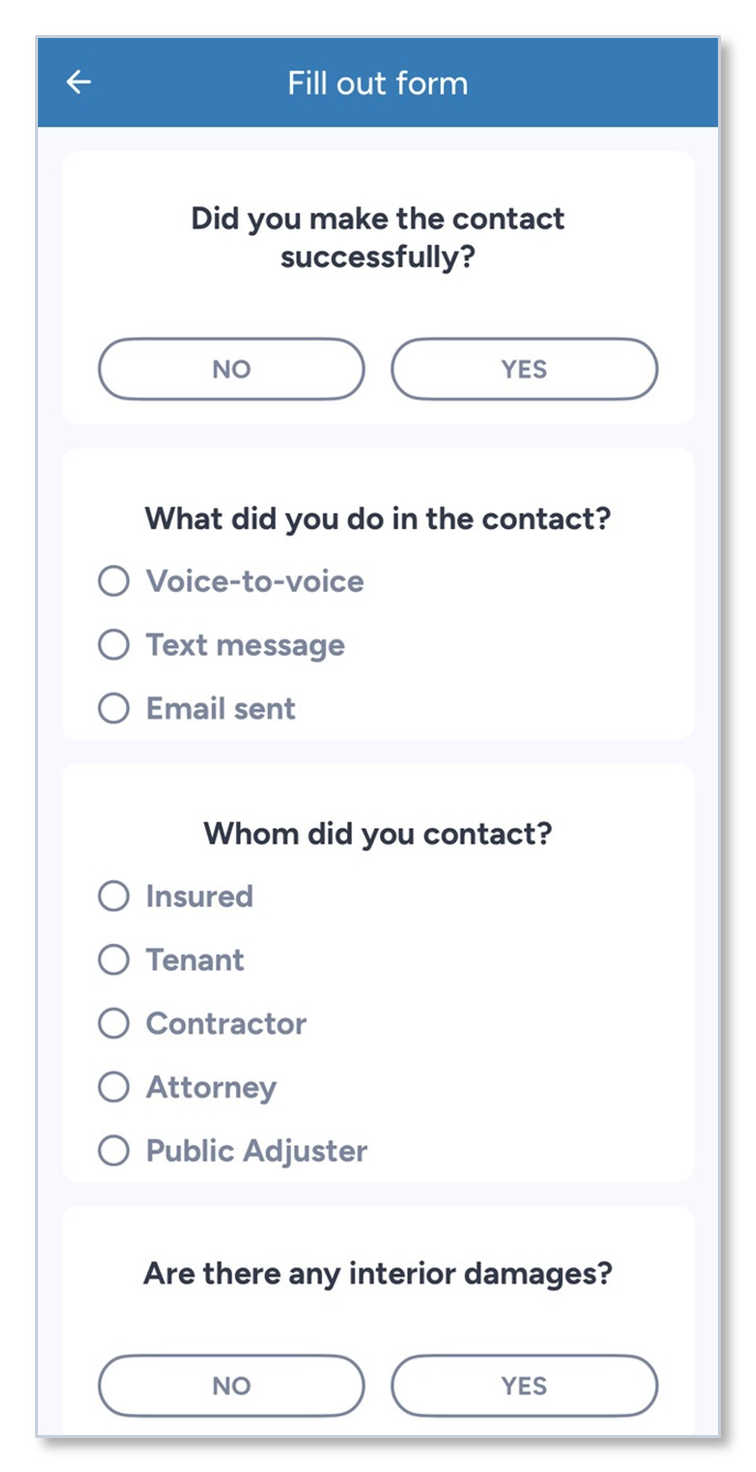
Pre-inspection questions — answers save as you go.
Answer all thirteen before you drive out — Complete Questions on the Contact tab.
The six topics
- Contact — did you reach the insured, how, and who you spoke to
- Property — occupancy, how long owned, when damage was found
- History — any prior claim on the property
- Damage — interior damage, tarp, tree damage, snow
- Structures — other structures damaged
- Repairs — temporary repairs already made
Three answers open a follow-up
- Interior damage — Yes opens a room-count field
- Other structures — Yes opens a count field
- Temporary repairs — Yes opens a description field and an optional receipt upload
While you work through them
- Your answers save as you type — losing signal loses nothing.
- Submit stays blocked until every required question is answered.
- After you submit, the button becomes View Answers and your answers stay editable. The Questions not yet completed strip clears.
Complete them before you travel
The pre-inspection questions are part of the assignment, not part of the site visit. Finish them before you drive out to the property.
# Task 4 — Uploading Your COA
Controlled-airspace assignments only. If the task is not on your Contact tab, this assignment does not need it.
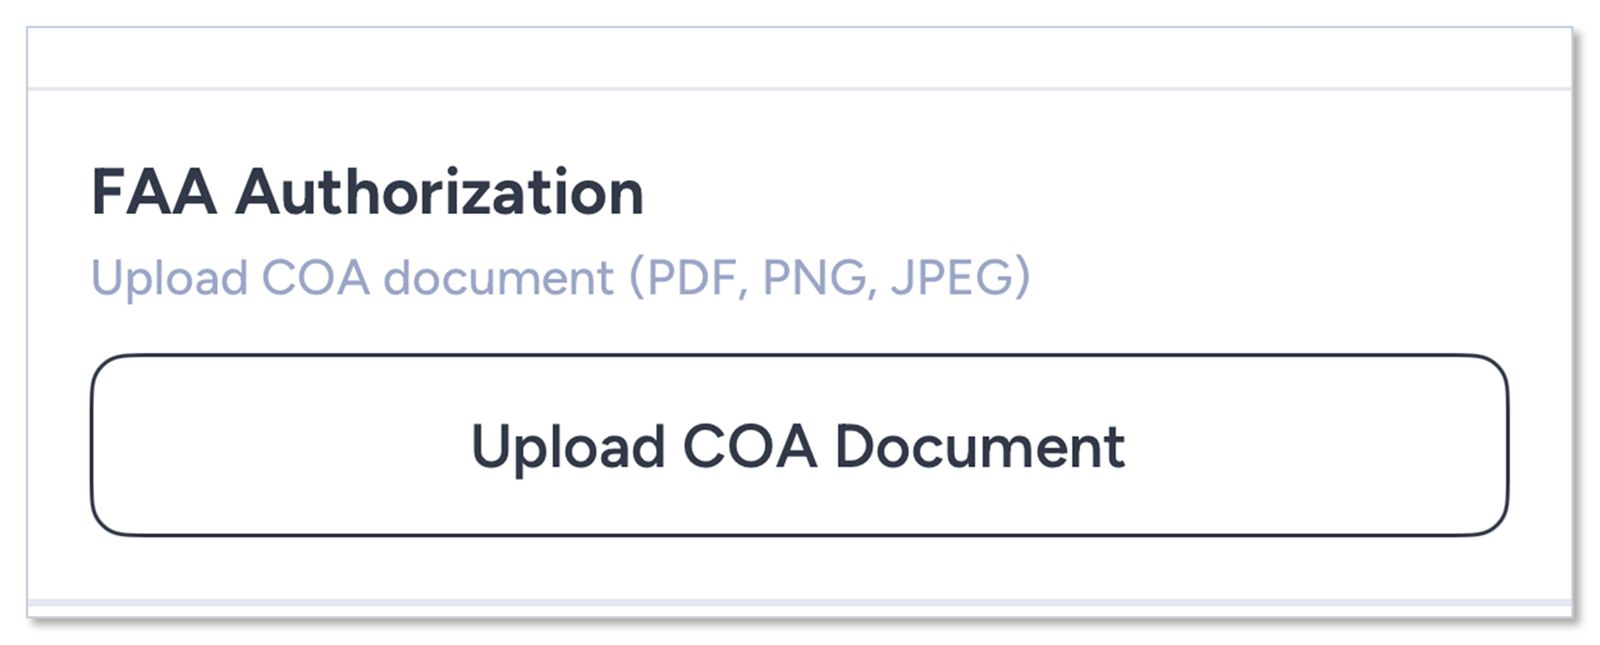
FAA Authorization — the Upload COA Document button on the Contact tab.
How to upload
- On the Contact tab, tap Upload COA Document.
- Attach the authorization as a PDF, PNG or JPEG. Any other file type is rejected and nothing uploads.
- Confirm the uploaded document is listed under FAA Authorization.
Why it matters
- Uploading the document is no longer required in order to submit the inspection.
- You still must hold authorization before you fly. Upload it to the job as soon as you receive it, so it is on the record.
- The FAA warning appears on the offer card before you ever accept, so there is no excuse for a surprise.
- If Further Coordination is needed for the location, contact the operations support team.
# When Every Task Is Complete
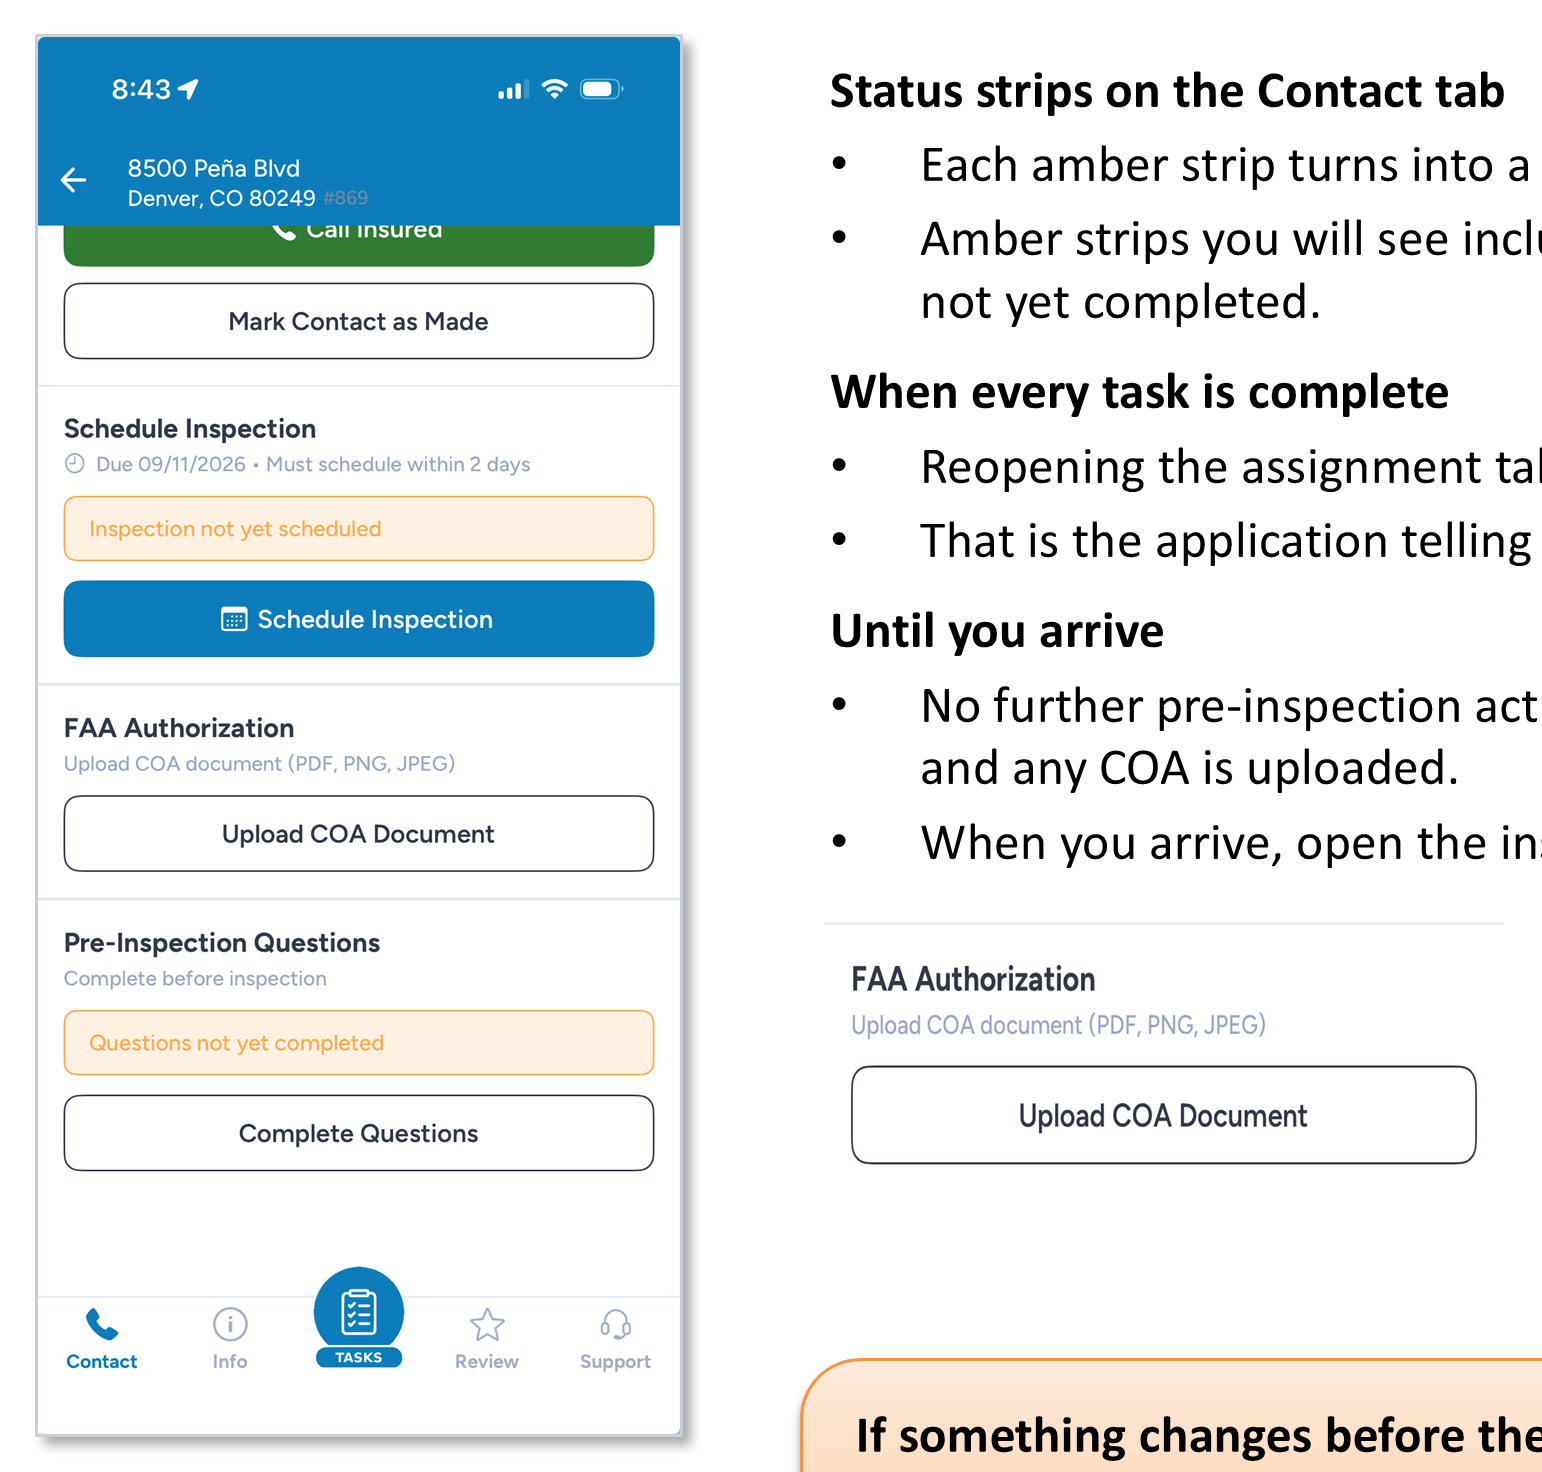
Contact tab — amber status strips clear as each task is finished.
Status strips on the Contact tab
- Each amber strip turns into a green confirmation line as its task is finished.
- Amber strips you will see include Inspection not yet scheduled and Questions not yet completed.
When every task is complete
- Reopening the assignment takes you to TASKS instead of Contact.
- That is the application telling you the assignment is ready to work on site.
Until you arrive
- No further pre-inspection action is required once the questions are submitted and any COA is uploaded.
- When you arrive, open the inspection and begin the normal on-site tasks.
If something changes before the inspection
Return to Complete Questions on the Contact tab, reopen the form and update the applicable answers. Your answers stay editable after you submit.