
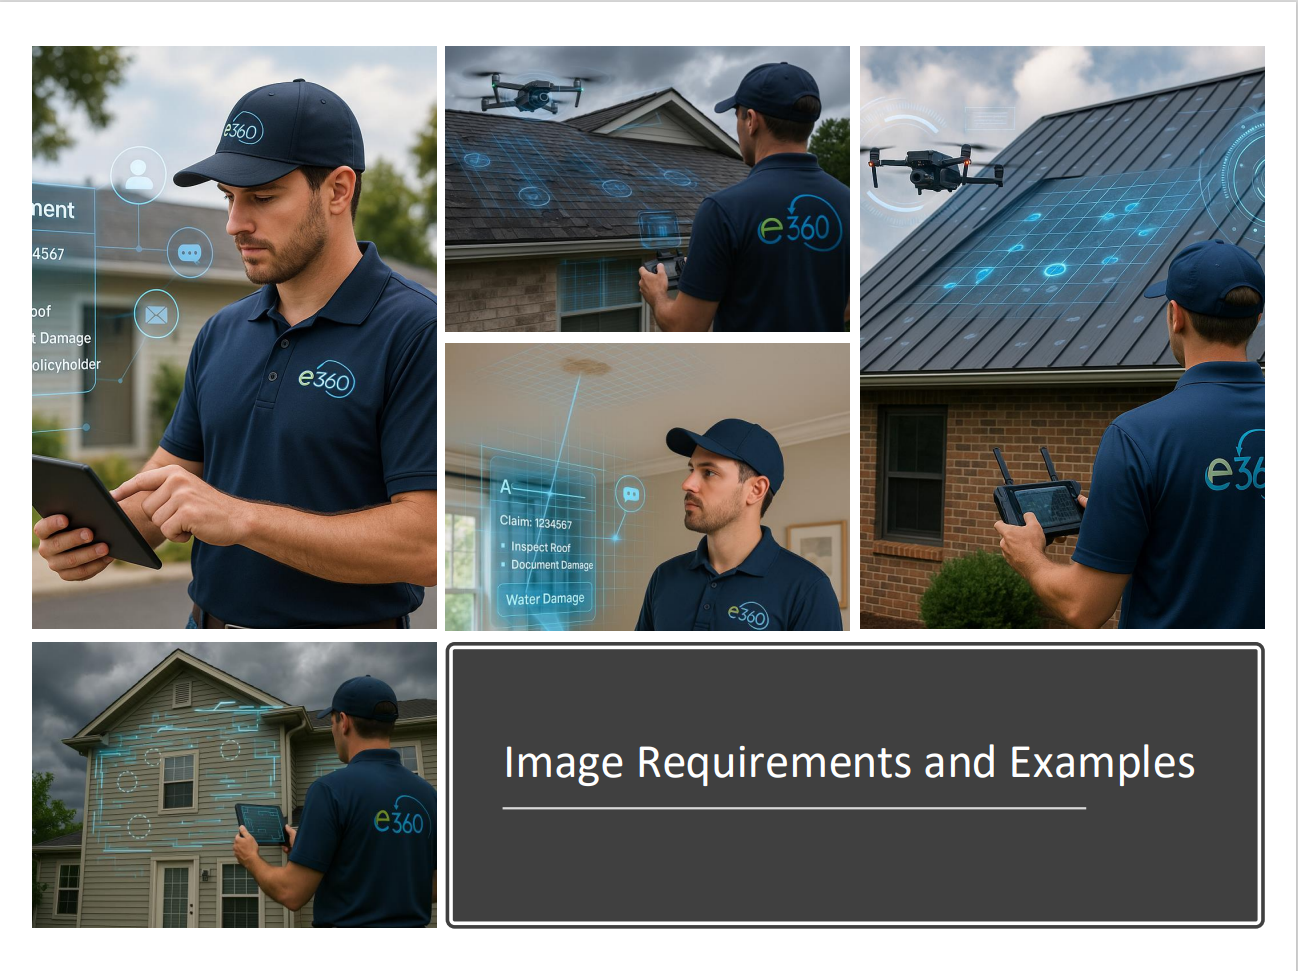
# SECTION 11: Image Requirements and Examples
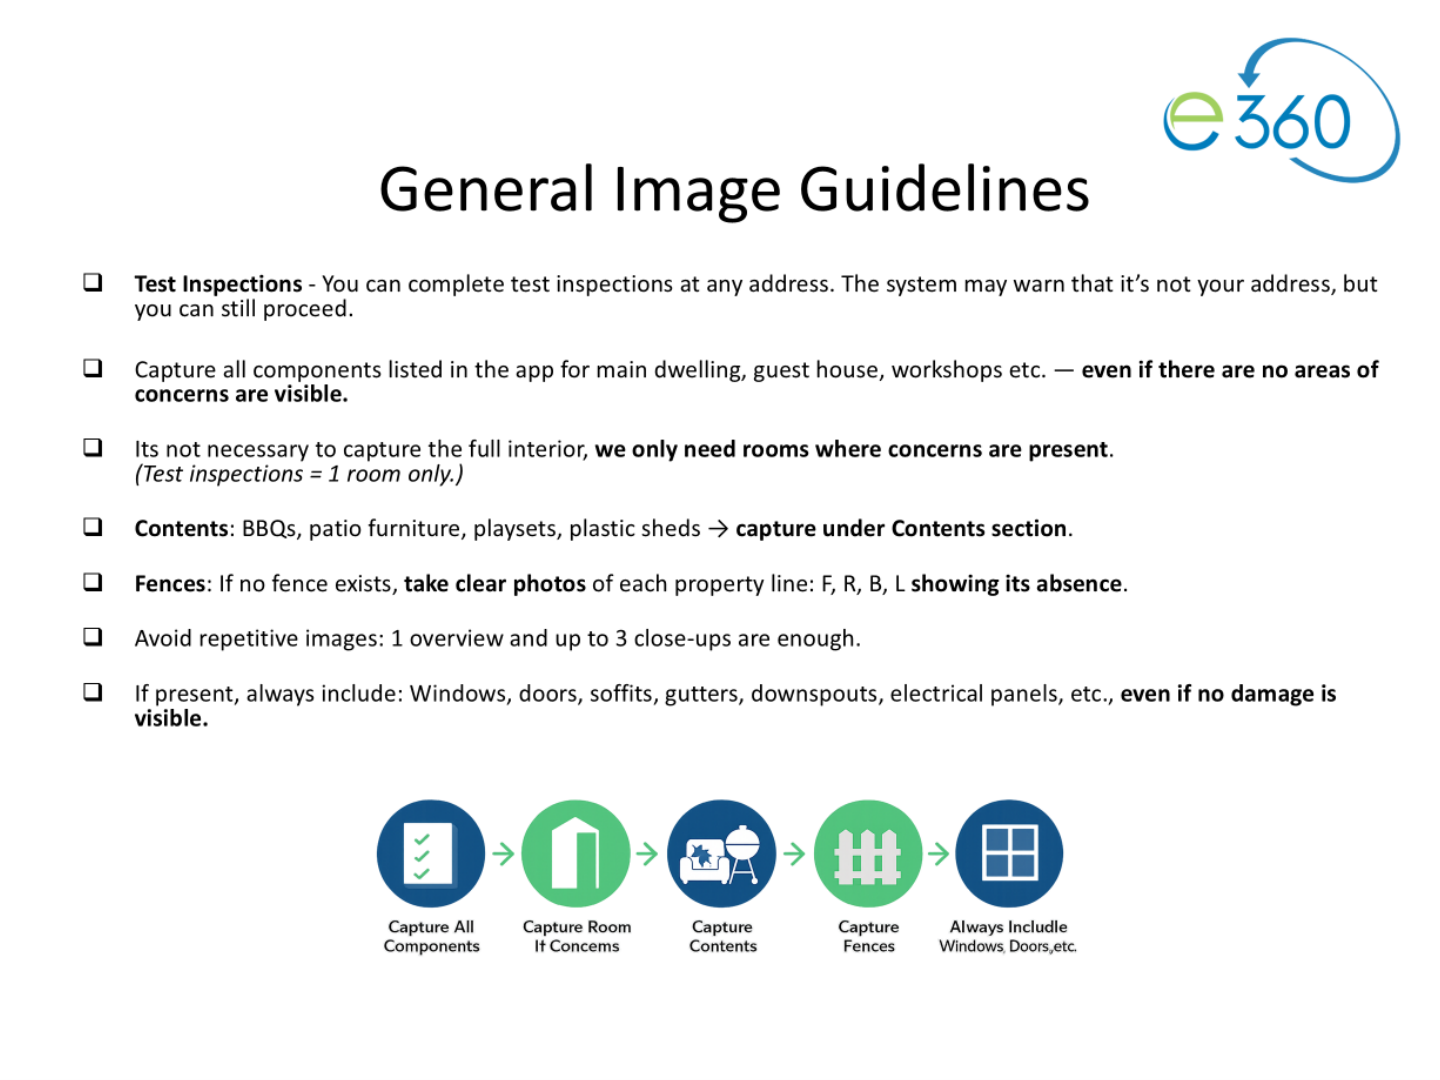
# General Image Guidelines
# Drone Image Size — 5472 x 3648 (20 MP)
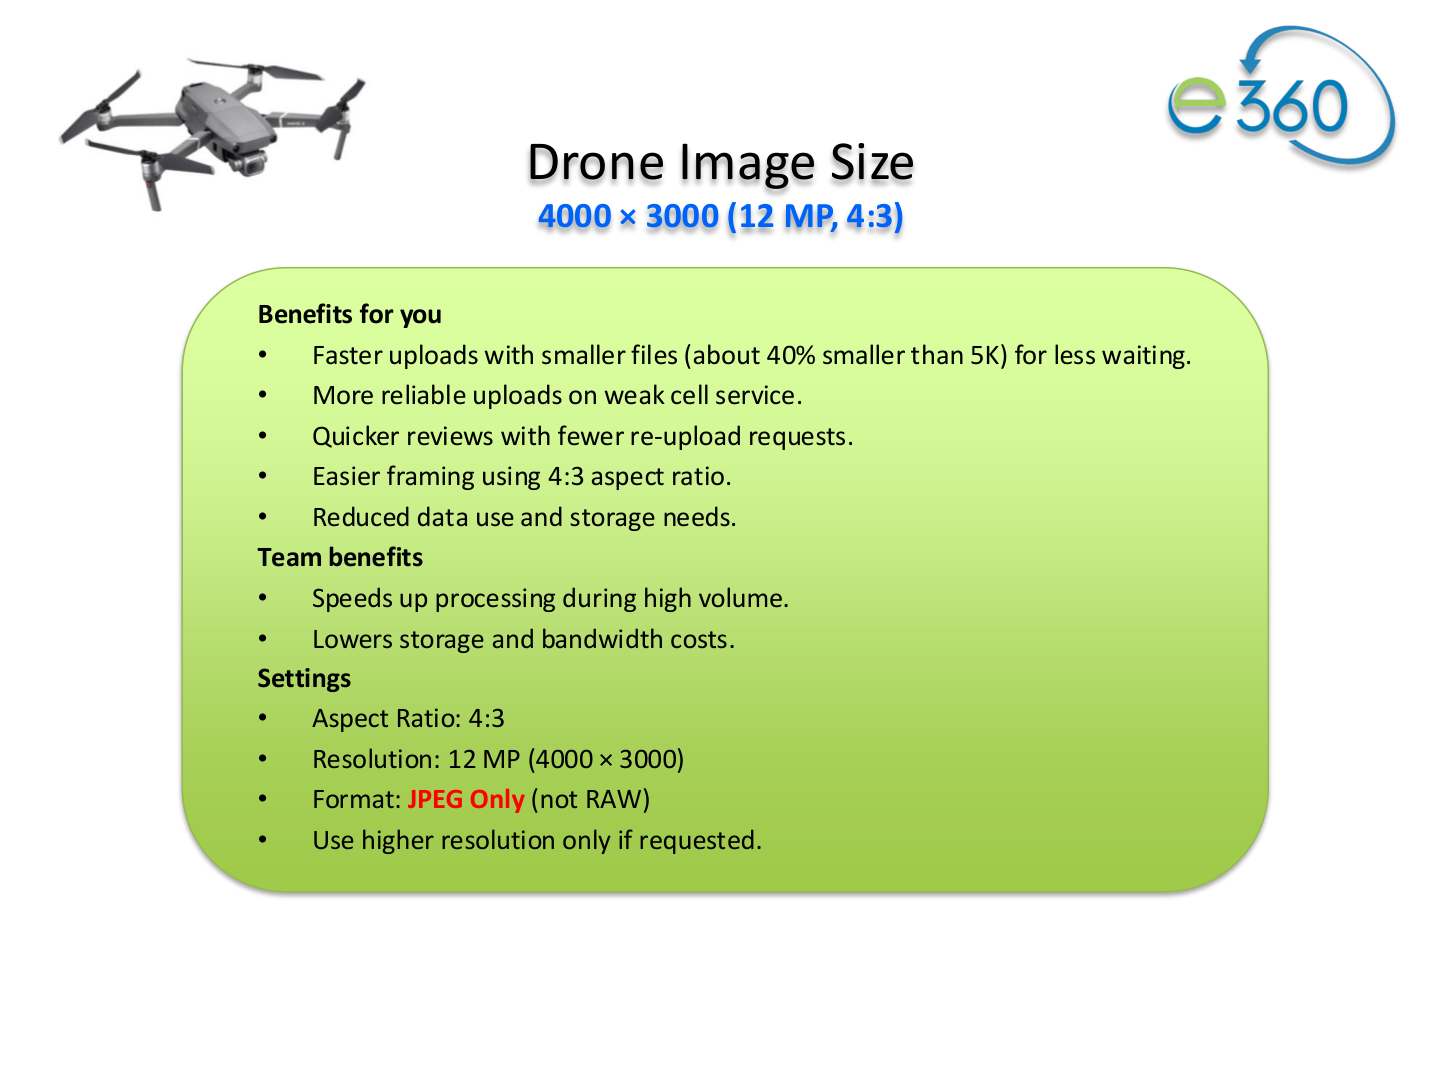
Benefits for you
- Faster uploads with smaller files (about 40% smaller than 5K) for less waiting.
- More reliable uploads on weak cell service.
- Quicker reviews with fewer re-upload requests.
- Reduced data use and storage needs.
Team benefits
- Speeds up processing during high volume.
- Lowers storage and bandwidth costs.
Before you fly
- Set your drone's photo size to 5472 x 3648 (20 MP) in the manufacturer's app.
# Elevation Image Requirements
# 1. Main Dwelling & Large Secondary Structures
(Detached Garages, Guesthouses or Workshops)
Elevation Images: Always begin at the front of the property and proceed: Right side → Back → Left side.
- Overview of each elevation Front > Right > Back > Left
- Capture the Left and Right segments of each elevation. If the property is large, this may require more than two segments per elevation to clearly document all visible features.
- Get 1 close-up of siding if present, this makes it easier to determine what type of siding material the adjuster is looking at.
- Capture one close-up image of all windows and doors within each segment. Ensure the image is clear — frames, beading, and screens must be visible, as we are specifically identifying any impact or wind-related areas of interest.
- Capture Close-up of garage door, and a shot from a side angle to make it easy to see any dents from hail.
- Capture 1 close-up Electrical Panel, Meter
- Gas Meter
- HVAC (Top overview, and 3 sides and manufacture label)
- Gutters: Capture from below using your device, or from above if using a drone.
- Downspouts: Include one overview image and three close-up shots per downspout.
- Soffits
# 2. Small Secondary Structures
(Toolshed, Covered Patio, or Gazebo)
Elevation Images: Always begin at the front of the property and proceed: Right side → Back → Left side.
- Capture all structures with a roof such as a toolshed, patio, or gazebo (Exclude small plastic sheds – list under Contents)
- Include key components: windows, doors, panels, etc. (if Present)
- Capture 1 Overview of each elevation F, R, B, L.
- Use same standards as main structure where applicable. E.g. Gutters, Metal roofs, Large Barn etc..
# Drone/Roof Image Requirements
# 3. Main Dwelling & Large Secondary Structures
(Detached Garages, Guesthouses or Workshops)
- 1+ Overview Photo of the property from back fence line to front sidewalk or road.
- 1+ Overview Photo of Main Dwelling and/or Large Structure.
- 16+ Bird's-Eye Views.
- 9+ Zigzag Pattern Images.
- Close-Ups: 6.5' x 6.5' (≈13 rows of shingles, perpendicular to slope) — or 5' x 5' depending on roof material (metal, tile, slate, etc.). MUST TAKE CLOSE-UP IMAGES OF THE ENTIRE ROOF working your way Front, Right, Back, Left,
- Capture component close-ups (vents, jacks, satellite dish, etc.)
❖ Slope order: Front → Right → Back → Left - Gutter Photos
- Roof Layer Photos
Tip: If you're using a drone that is not compatible with the Eberl Inspections App and are instead capturing images via a drone app for manual upload through the Eberl WebApp (Pilot Portal), it's recommended to include a transition image — such as a photo of the sky — between each slope (e.g. Front → Right → Back → Left). This helps clearly identify and organize slope sequences during the upload process.
# 4. Close-Up Photo Standards
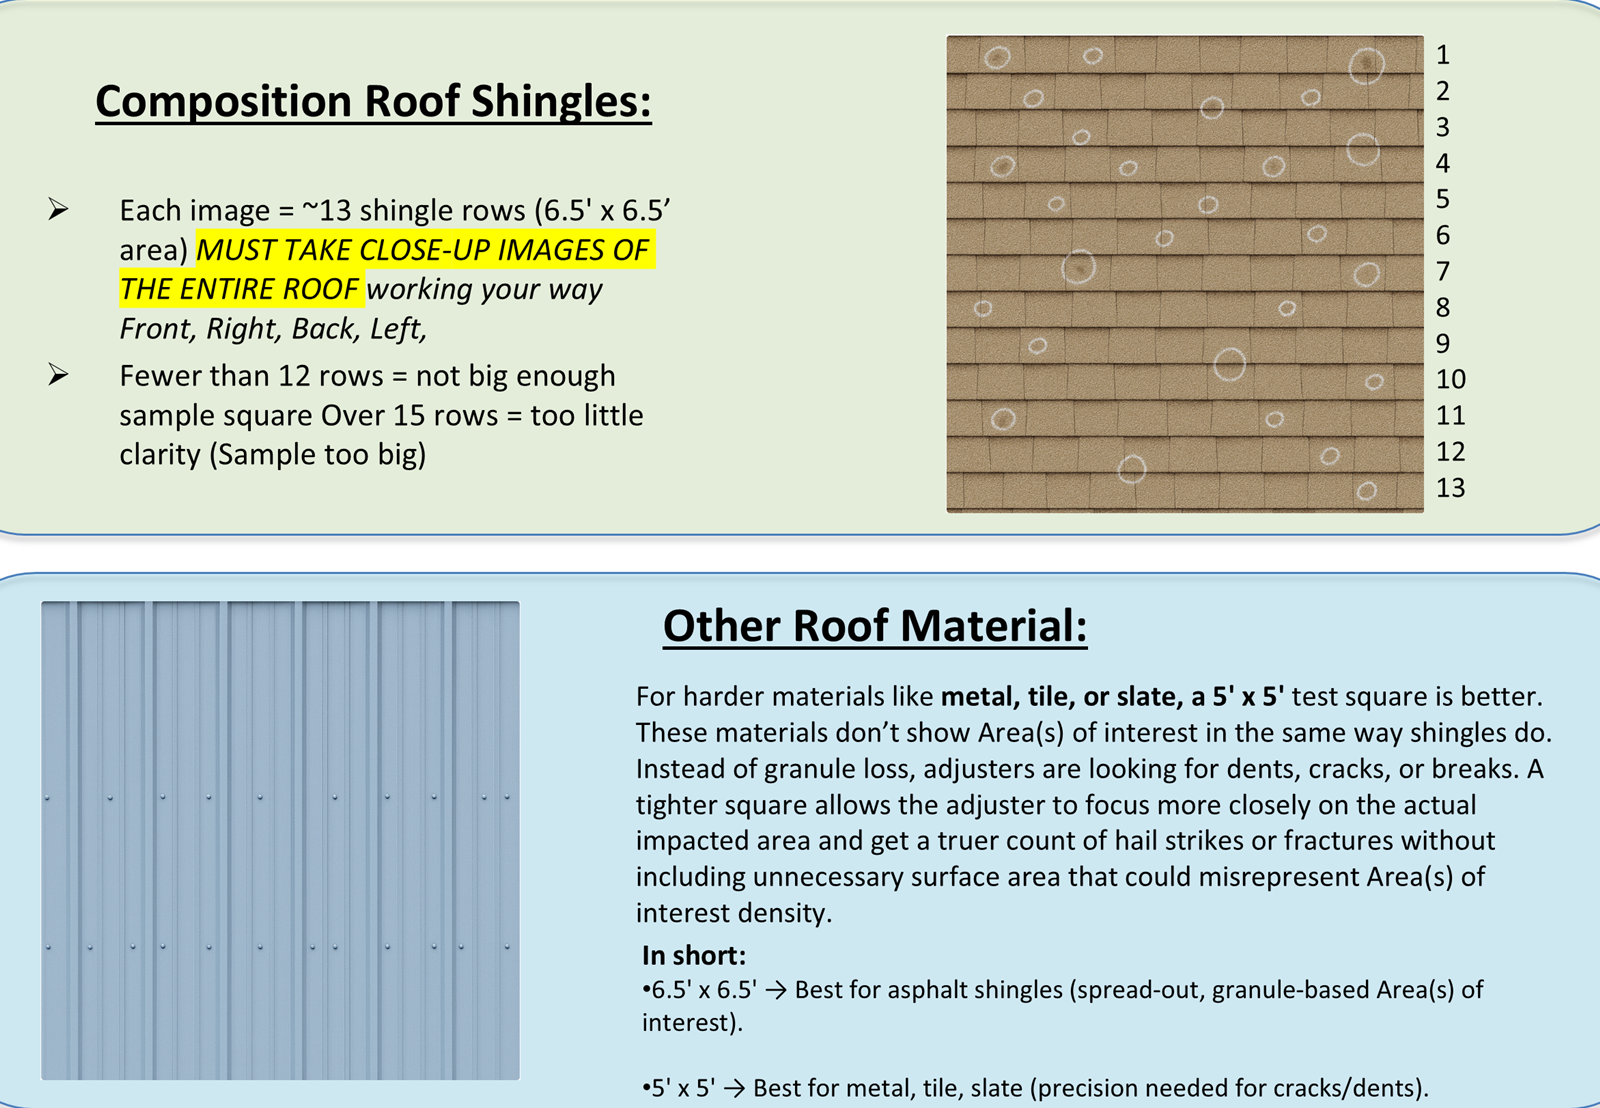
Composition Roof Shingles:
- Each image = ~13 shingle rows (6.5' x 6.5' area) MUST TAKE CLOSE-UP IMAGES OF THE ENTIRE ROOF working your way Front, Right, Back, Left,
- Fewer than 12 rows = not big enough sample square. Over 15 rows = too little clarity (Sample too big).
Other Roof Material:
For harder materials like metal, tile, or slate, a 5' x 5' test square is better. These materials don't show Area(s) of interest in the same way shingles do. Instead of granule loss, adjusters are looking for dents, cracks, or breaks. A tighter square allows the adjuster to focus more closely on the actual impacted area and get a truer count of hail strikes or fractures without including unnecessary surface area that could misrepresent Area(s) of interest density.
In short:
- 6.5' x 6.5' → Best for asphalt shingles (spread-out, granule-based Area(s) of interest).
- 5' x 5' → Best for metal, tile, slate (precision needed for cracks/dents).
# 5. Small Secondary Structures
(Toolshed, Covered Patio, or Gazebo)
- 1 Overview Photo
- 4 Bird's-Eye Views
- 1 Close-Up (Per Slope): 6.5' x 6.5' (≈13 rows of shingles, perpendicular to slope) — or 5' x 5' depending on roof material (metal, tile, slate, etc.).
- Capture components (vents, jacks, satellite dish, etc.)
- Gutter Images (if applicable)